Editing is the most important part of making a video, whether it’s a low-budget film or a Hollywood production. It’s the last stage in which you weave together your photos, music, and effects to form a cohesive story.
A great video may be ruined by a clumsy edit, even if you start with the greatest material possible. Thanks to the proliferation of accessible and low-cost video editing tools, such as cell phones, online tutorials, and mobile apps, learning how to edit videos has never been more accessible to the average person.
Video editing is a talent that can be learned, and in this lesson, we’ll teach you how to do it step by step so that your finished films seem professional. If you want to know more, read on.
You’ll need a powerful computer and the appropriate editing software before you can begin. If you already have both, you may go on to the first step.
We have compiled a list of the top video editing software suites available, but if you’re still looking for a suitable editing suite to use, feel free to peruse it. The best all-around video editor is Adobe Premiere Pro CC but you should choose one that is suitable for your skill set. Thanks to its user-friendly interface, Cyberlink PowerDirector 365 is the ideal choice for most beginners.
First, take some practice shots to practice with
Start your adventure as an editor by recording some test footage. You may use a smartphone, a GoPro, or even an old digital camera to record your film.
Don’t forget to capture many images from various positions throughout the shoot so you can become comfortable with splicing them together in the post. To better organize future video projects, it’s helpful to have a rough notion of the sequence you want to finish up with before you begin recording.
Import your footage and rearrange it
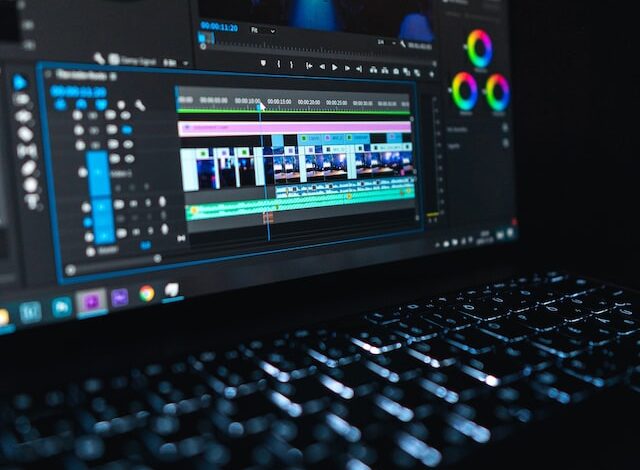
When you’ve gathered enough material for a satisfactory video, it’s time to fire up your brand-new editing program and create a new project. Finally, you’ll want to transfer the video from your camera to your computer. Most editors provide a file import wizard or allow you to simply drag and drop video files into the project resources section.
There is no one standard for the design of video editing software; instead, each program has its own specialized user interface. You should expect your newly imported videos to show up on the left side of the screen if you’re using a popular package. The clips may be added to the timeline one by one by dragging and dropping. You may change the order of the shots by dragging and dropping videos before or after them.
Try out various methods of modifying and duplicating images
Once your material is roughly in the right sequence, you’ll need to learn how to utilize three crucial tools to cut out unwanted parts of each clip.
In the first place, there’s a trimming function that lets you reduce a video’s duration by cutting out unnecessary starting and ending segments. You can start trimming in most video editors by setting the cursor where you want the clip to terminate and dragging.
Alternatively, the cutting tool may be used to split the movie in two at the precise point where you click. After cutting a video in half, you may want to use one half in a different spot in your edit. A segment of the video may be copied and pasted to a new location.
Now is the time to experiment with editing your movie using keyboard shortcuts. Similar to the last point, they will vary depending on the editing program you use. Cutting and trimming are two separate functions in Premiere Pro; to access them, use Shift + T to enter trimming mode and CTRL + K to bring up the Razor tool.
Integrate cuts and music
If you’re making a video, transitions are an excellent way to connect scenes and give your work a more polished look and feel. You may create a transition between two clips on your timeline by dragging and dropping it there from your editing program’s transition library.
The film’s soundtrack and the sounds used in the production are equally crucial. Similar to how you uploaded your demo video, you can often import music and other sound files in the same manner. The only difference is that you’ll have to drop them behind the primary video sequence on your timeline to make room for the sounds.
Watch expert-level lessons made for your particular video editor
Color grading, keying, and video stabilization are some of the additional abilities you’ll need to hone to become a true expert at video editing. Understanding these methods will allow you to eliminate distracting movements, convey feelings, and change the look of your film.
To learn advanced editing techniques in Adobe Premiere Pro, you may watch channels on YouTube like Premiere Gal which is packed with helpful tutorials. You may also check out the libraries over at Video Copilot and Red Giant. Both of these resources stand on their own as authoritative resources for editing videos.