In the digital age, the ability to create high-quality videos has become increasingly accessible. Whether you’re a content creator, aspiring filmmaker, or someone looking to document precious moments, setting up a DIY home studio for video recording is easier than you might think. This comprehensive guide will walk you through the process, from selecting the right equipment to optimizing your space for optimal recording conditions.
Step 1: Choose the Right Space
Before diving into equipment, it’s crucial to identify the ideal location for your home studio. Look for a quiet space with minimal background noise and natural light. Consider the acoustics of the room – rooms with carpeting and soft furnishings tend to absorb sound better, reducing echoes.
Step 2: Essential Equipment
Camera:
Invest in a good-quality camera to capture crisp and clear footage. While DSLRs and mirrorless cameras are popular choices, modern smartphones with advanced cameras can also deliver impressive results.
Lighting:
Proper lighting is key to achieving professional-looking videos. Natural light is ideal, but if that’s not possible, invest in softbox lights or LED panels. Position the lights to minimize shadows and create an even illumination across your subject.
Microphone:
Clear audio is just as important as sharp visuals. Choose a dedicated microphone, whether it’s a USB microphone for simplicity or an XLR microphone for higher quality. Ensure it’s positioned close to your subject to capture clean audio.
Tripod:
Stabilize your shots with a sturdy tripod. This ensures your videos are free from shaky footage, providing a more professional and polished look.
Backdrop:
Consider the aesthetics of your videos by using a backdrop that complements your content. This can be a plain backdrop for a clean look or a backdrop that reflects your brand or style.
Step 3: Setup and Configuration
Once you have your equipment, take the time to set up and configure each component properly. Ensure your camera settings are optimized for your recording environment, adjust lighting angles for the best illumination, and test your microphone to eliminate any potential audio issues.
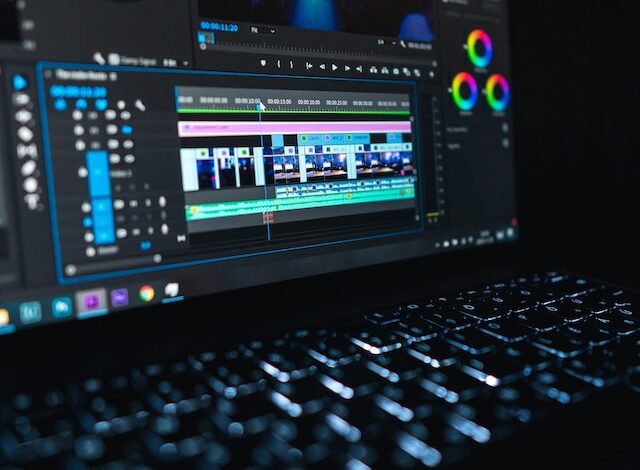
Step 4: Software and Editing Tools
Explore various video recording and editing software options. Depending on your needs and expertise, you may opt for user-friendly options like iMovie or Adobe Premiere for more advanced editing capabilities. Familiarize yourself with the software to enhance your post-production workflow.
Step 5: Experiment and Learn
The beauty of a DIY home studio is the ability to experiment and learn from each recording session. Pay attention to feedback, analyze your videos critically, and continuously refine your setup and techniques.
Conclusion
Creating a DIY home studio for video recording doesn’t have to be daunting. By carefully selecting the right space, investing in essential equipment, optimizing your setup, and honing your skills, you can elevate your video production capabilities from the comfort of your own home. Remember, the key is practice and continuous improvement, so don’t be afraid to experiment and have fun with the process!