Building your own PC can be a rewarding and cost-effective endeavor, providing you with a customized machine tailored to your specific needs. While the idea of assembling a computer from scratch may seem daunting at first, with the right guidance, it becomes a straightforward and fulfilling process. This comprehensive hardware assembly guide will walk you through each step, ensuring a successful build and a powerful, personalized PC.
- Gathering Components:
Before diving into the assembly process, it’s crucial to gather all the necessary components. This includes the central processing unit (CPU), motherboard, graphics card, memory (RAM), storage devices (SSD/HDD), power supply unit (PSU), cooling system, and peripherals such as the keyboard and mouse.
- Preparing Your Workspace:
Set up a clean and well-lit workspace with ample room to lay out components. Ensure you have all the required tools, including screwdrivers, cable ties, and an anti-static wrist strap to prevent damage to sensitive components.
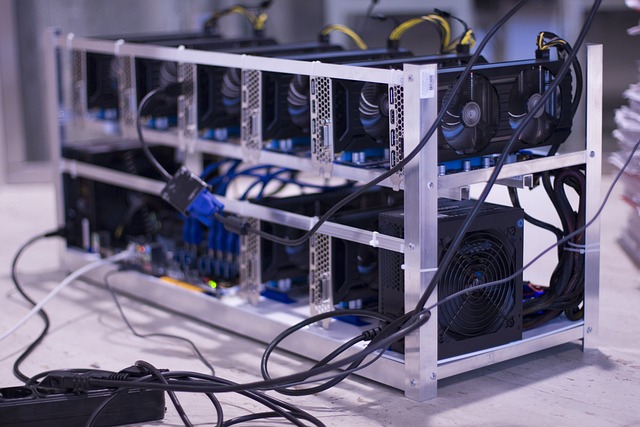
- Motherboard Installation:
Start by installing the CPU onto the motherboard, followed by the RAM modules. Carefully mount the motherboard into the case, securing it with screws. Connect the power supply to the motherboard, ensuring all components are firmly seated.
- Installing Storage Devices:
Mount the storage devices, such as SSDs or HDDs, into the designated drive bays within the case. Connect the SATA and power cables to the storage devices and motherboard.
- Graphics Card Installation:
Insert the graphics card into the PCIe slot on the motherboard and secure it with screws. Connect the necessary power cables from the PSU to the graphics card.
- Power Supply Unit (PSU) Connection:
Install the power supply unit into the case, securing it with screws. Connect the necessary power cables to the motherboard, graphics card, storage devices, and any other components requiring power.
- Cable Management:
Organize and secure cables using cable ties to ensure optimal airflow and a tidy appearance. Proper cable management also aids in troubleshooting and future upgrades.
- Cooling System Installation:
If using an aftermarket cooling solution, install the CPU cooler according to the manufacturer’s instructions. Ensure proper thermal paste application for efficient heat dissipation.
- Peripheral Connection:
Connect your monitor, keyboard, mouse, and any other peripherals to the appropriate ports on the motherboard.
- BIOS Setup:
Power on the PC and enter the BIOS/UEFI settings to configure system preferences, including boot order and overclocking settings if desired.
- Operating System Installation:
Insert your operating system installation media and follow the prompts to install the operating system on your newly built PC.
- Driver and Software Installation:
Install motherboard drivers, graphics card drivers, and any other necessary software to ensure optimal performance and compatibility.
Conclusion
Building your own PC is a rewarding experience that allows you to create a system perfectly suited to your needs. By following this comprehensive hardware assembly guide, you’ll navigate the process with confidence, resulting in a powerful and personalized computer. Remember to take your time, follow each step meticulously, and enjoy the satisfaction of assembling a machine that you can call your own.